DIY Tips for Shou Sugi Ban
How should DIYers approach the Shou Sugi Ban process for the best results?
For a durable burnt wood finish that will last 50 years or more, follow these Shou Sugi Ban application tips:
- Apply on softwoods only. As a result of its porous nature, cedar—Japanese cedar in particular—readily chars to the depth needed for a protective and appealing burnt wood finish. However, other softwoods, including pine and fir, are also good candidates. Avoid hardwoods, such as teak or walnut, which are denser and don’t char as readily.
- Skip the sanding. Because burning the wood surface removes any existing rough patches, there’s no need for sanding the wood before scorching it. If, however, there are splinters or deep grooves in the wood, lightly sand uneven areas with 150-grit or higher sandpaper.
- Use propane torches for maximum flame control. Although both propane torches and controlled fires (small, self-ignited fires on the ground) are suitable fire sources, propane torches (e.g., Red Dragon Torch on Amazon) offer the average DIYer greater control over where the flame hits and the intensity of the burn in that area. The breakdown of cellulose and formation of char occurs in wood at a flame temperature of between 500 and 1,000 degrees Fahrenheit, so look for a torch that reaches a maximum temperature of at least 1,000 degrees Fahrenheit in the open air; most propane torches more than fit the bill, offering max temperatures of 2,000 degrees Fahrenheit or higher.
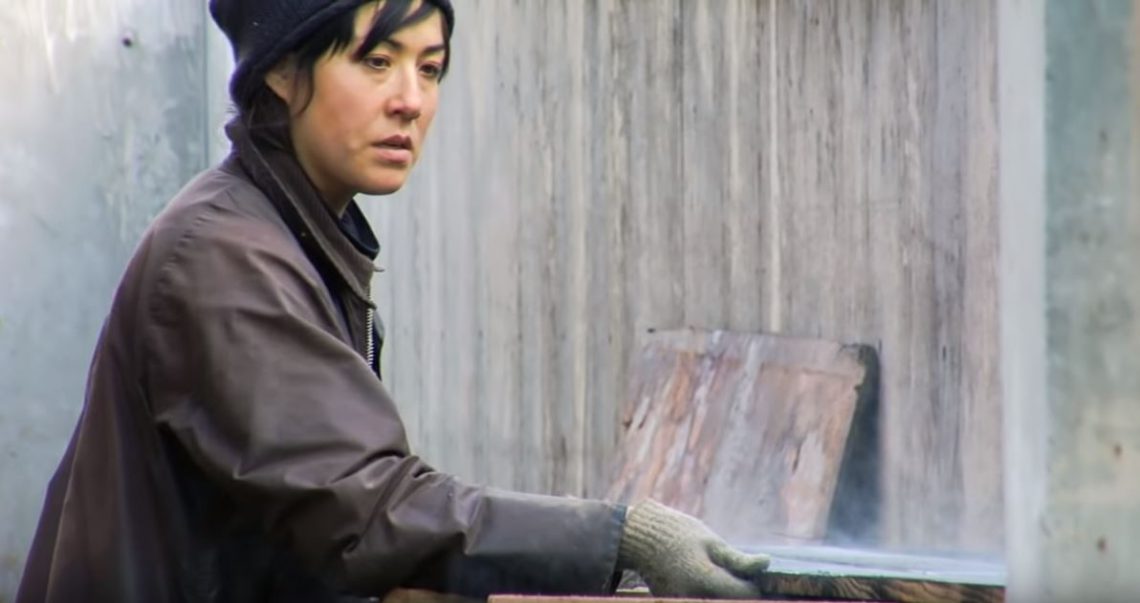
- Prepare the work area. Because the torch flames can emit gases such as carbon monoxide into the surrounding air, only apply shou sugi ban in an open area such as the driveway—never indoors. Likewise, don’t work on windy days; wind can redirect the flame to a nearby surface that you don’t want to burn. Set the wood plank or woodwork on a flat, level, inflammable surface, such as a concrete driveway or a metal worktop. Always wear safety glasses and fireproof work gloves during the process, and keep a fire extinguisher handy.

- Use a short flame to scorch small sections at a time. The size of the flame produced by the torch controls the heat and intensity of the burn; the smaller the flame, the more intense the burn, since the hotter, dark blue inner core of the flame is closer to the wood surface; the larger the flame, the less intense the burn, since the wood is mainly exposed to the cooler, light blue outer core of the flame. Use the torch adjustment valve (usually a knob on the torch) to achieve a flame size of one to two inches long to ensure an intense burn.
- Maintain a steady hand. Move the torch slowly from one end of the surface to the other, holding the flame over each six-inch area for five to 10 seconds until it blackens, then moving to the next section until the entire wood surface has blackened. If small cracks start to appear in the wood surface at any point, use the adjustment valve to increase the flame size, which will reduce the burn intensity.
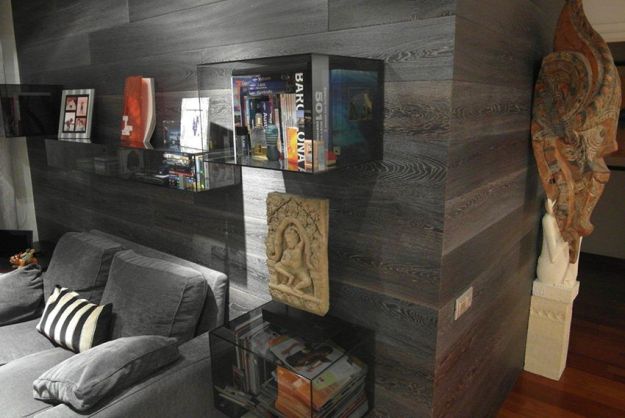
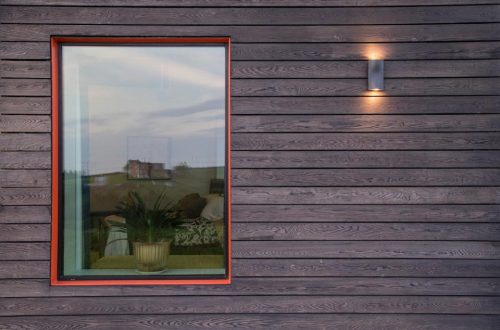
- Brush to your desired color depth. Wait five to 10 minutes for the wood to cool completely, then gently scrub the entire board with a wire brush to soften the char and reveal the grain of the wood until you achieve the desired depth of color. The longer you brush, the lighter in color the board will be.
- Use a wet cloth or air compressor to remove excess soot and dust. After brushing the wood, loose soot and dust may remain on the wood surface; these particles make the finish look less vibrant, so remove them by wiping down the wood with a water-saturated cloth. For bigger areas, use an air compressor, which releases air onto the wood surface to blast away soot and dust.
- Finish with oil for added longevity. You can leave the charred wood bare for a rough-hewn look or apply a drying oil such as linseed or tung oil to lend a soft sheen and enhanced weather protection. These oils harden with prolonged exposure to air, making the wood even more durable. Re-apply the oil every 10 to 15 years for the best results.


You May Also Like
Buildings Made Of Previously Charred Lumber Reduce House Fire Risk
Shou Sugi Ban: A Popular New/Old Technique For Treating Wood